Introduction: A Must-Do Hike in New Zealand’s South Island
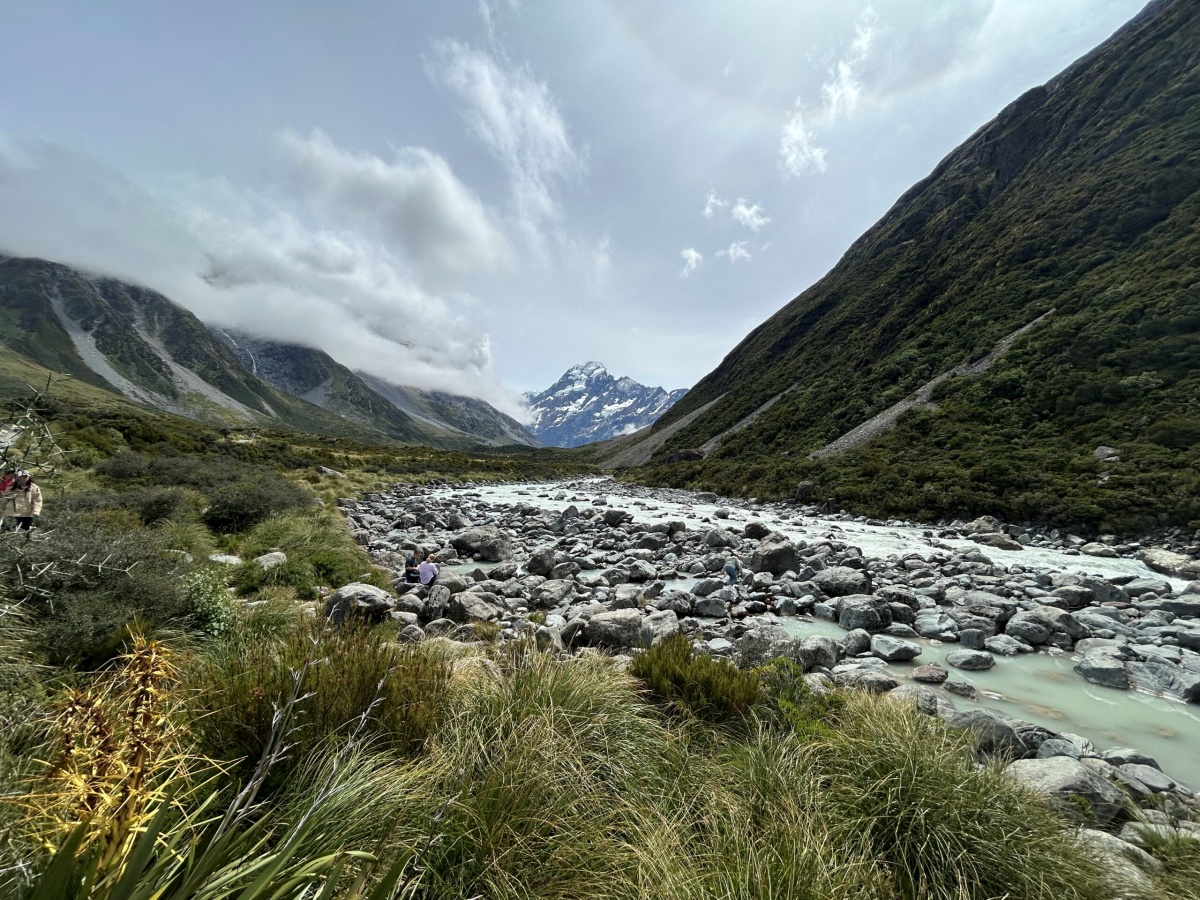
The Hooker Valley Track is one of the most breathtaking hikes in New Zealand, offering a 10 km return walk through Aoraki/Mount Cook National Park. This trail takes you across three swing bridges, past glacier-fed rivers, and finally to the stunning Hooker Lake, where Aoraki/Mount Cook dominates the horizon.
This hike was also featured in our Must-Do New Zealand: 5 Best Budget-Friendly Experiences as the top choice for scenic trails—a must for those seeking unforgettable views at no cost.
For our family, this trail has been a South Island highlight. Over the years, we’ve hiked it in different seasons—once when our kids were small enough to carry, and again when they could tackle it on their own. The journey to the track alone is worth it, with countless scenic stops along the way. If you’re planning a realistic family adventure that balances incredible views with a manageable hike, here’s everything you need to know.
Trail Overview and Highlights
- Distance: 10 km return
- Time Required: 3–4 hours
- Difficulty: Easy to moderate (well-maintained, mostly flat)
- Starting Point: White Horse Hill Campground
- Family-Friendly? Absolutely! Even younger kids can complete it with breaks.
Key Landmarks:
- Freda’s Rock – A tribute to Emmeline Freda Du Faur, the first woman to summit Aoraki/Mount Cook.
- Mueller Lookout – Stunning views of Mueller Glacier and Mount Sefton.
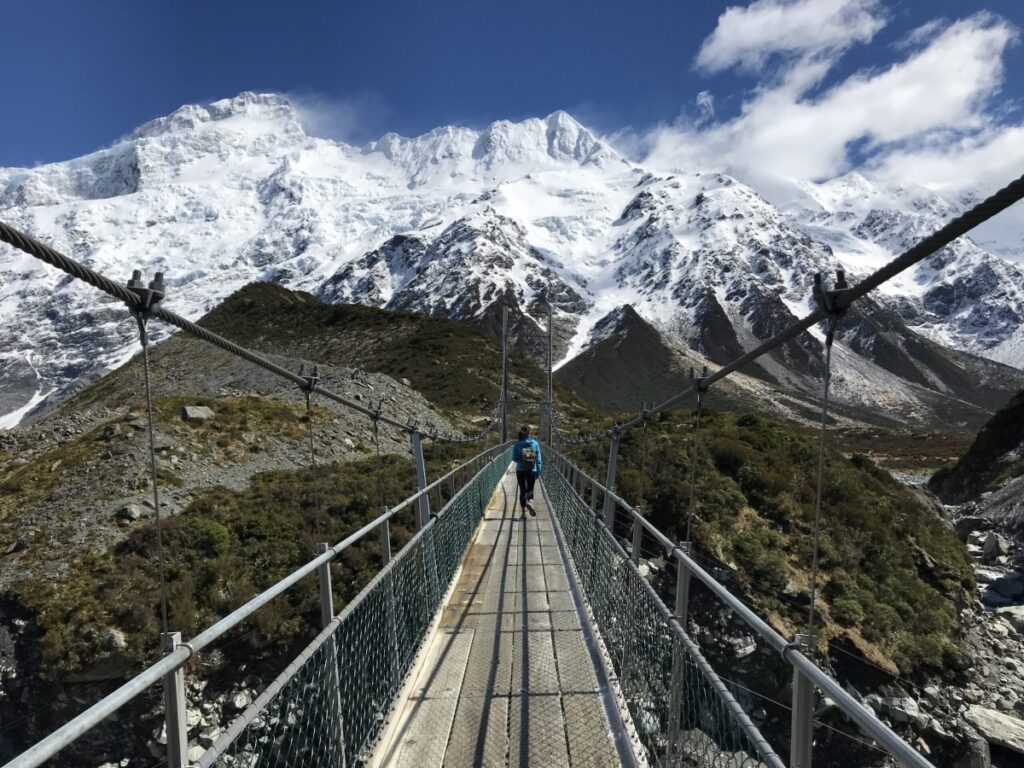
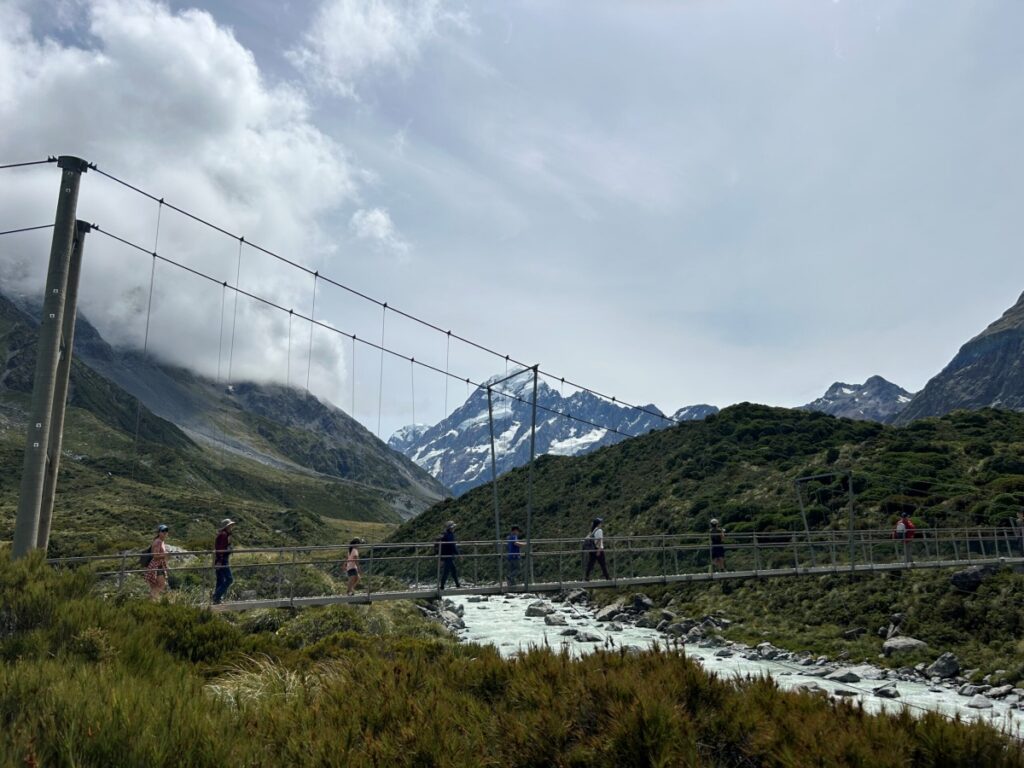
- Three Swing Bridges – The highlight for kids, offering thrilling crossings over the Hooker River.
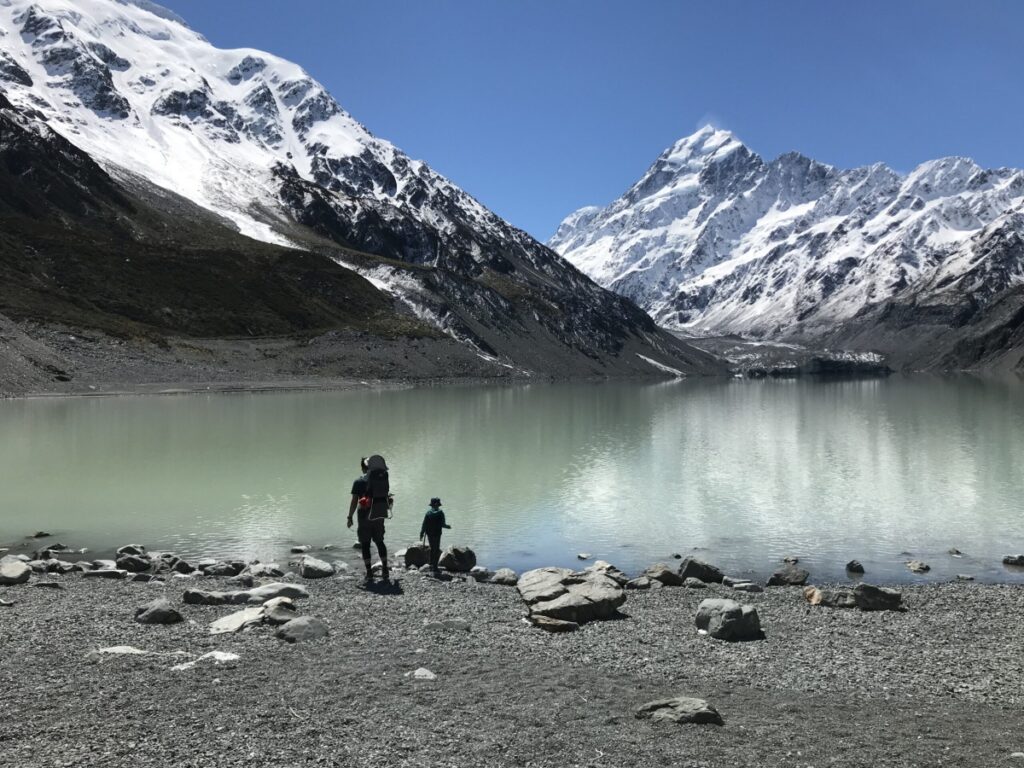
- Hooker Lake – The final destination, where floating icebergs add to the surreal beauty.
Personal Experience:
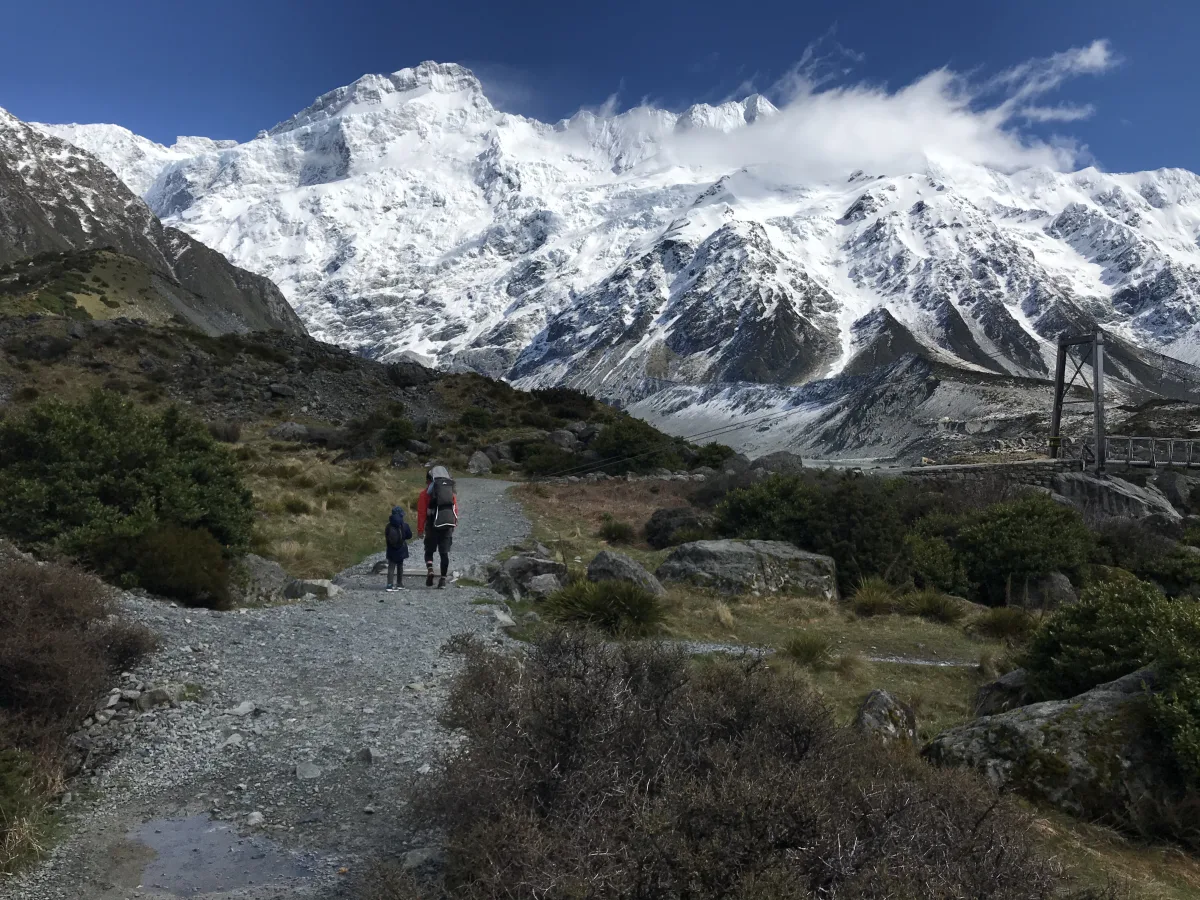
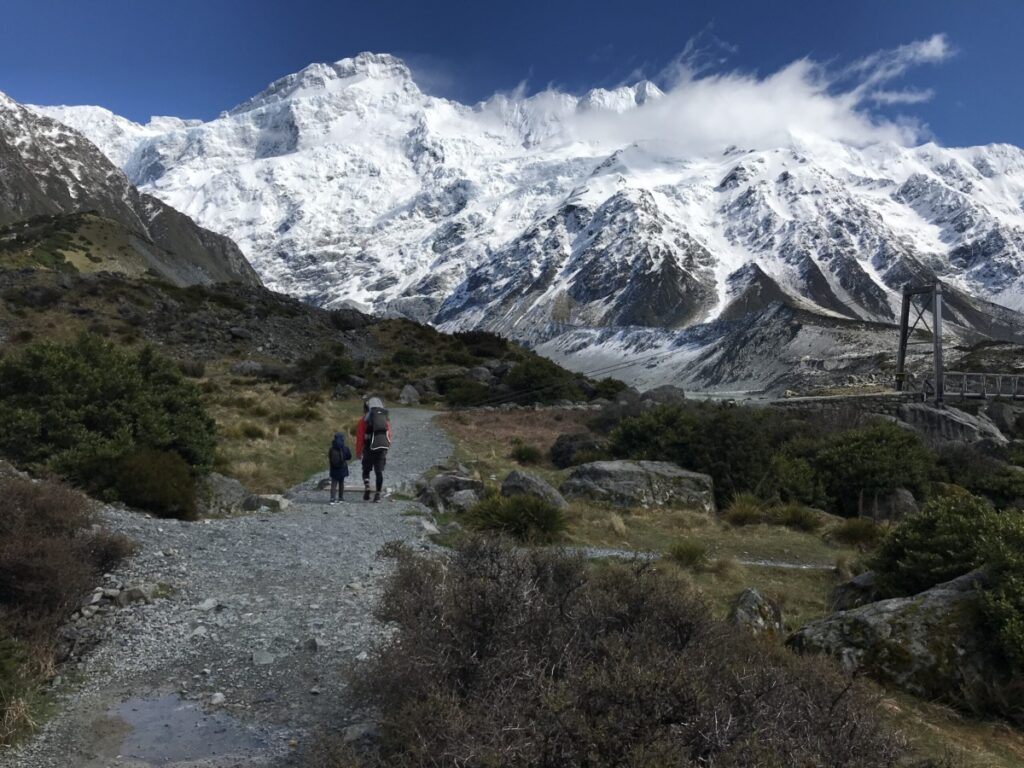
We first tackled this hike five years ago, carrying one child in a baby carrier and the other on our back. This time, both kids hiked the full distance—a huge milestone for our family! Seeing them walk confidently across the swing bridges and experience the melting glaciers firsthand was unforgettable.
How to Prepare for the Hike
1. Check the Weather
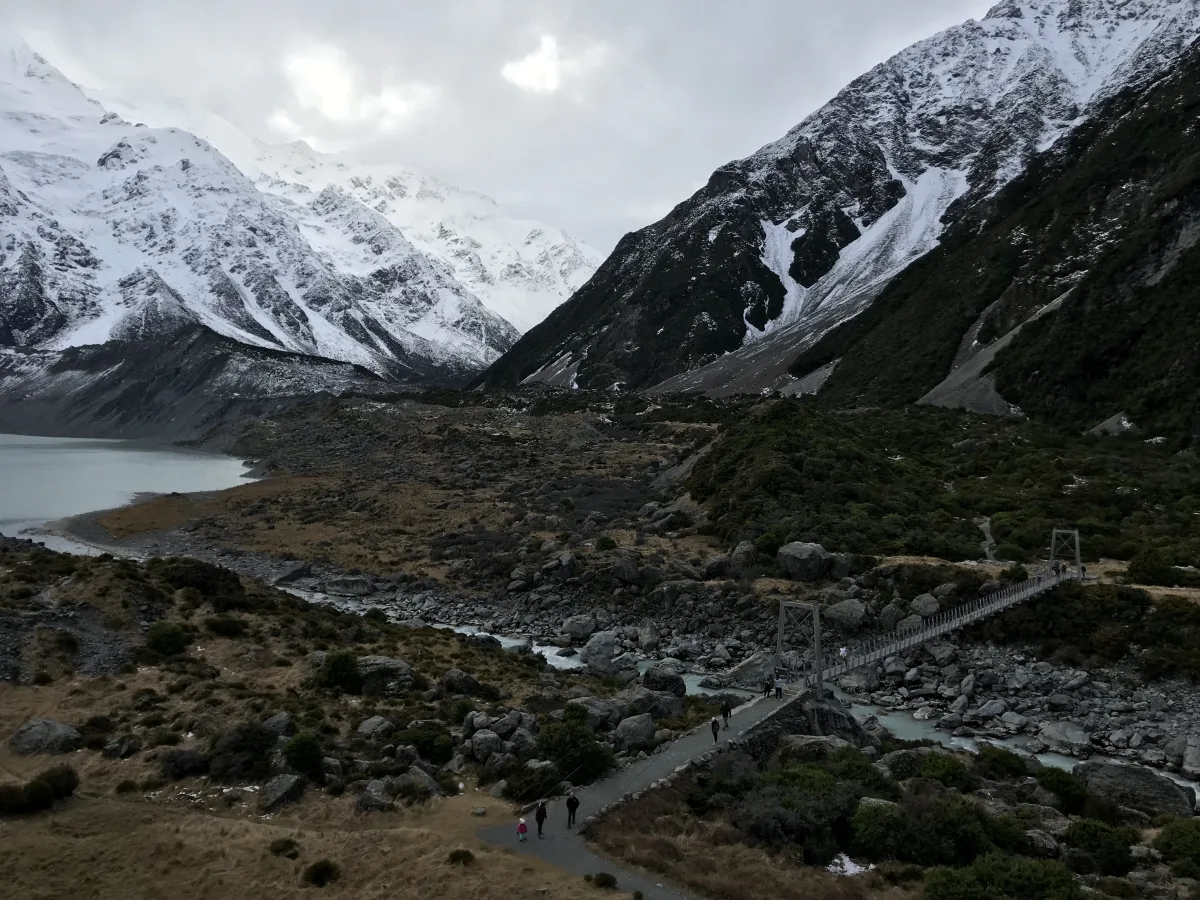
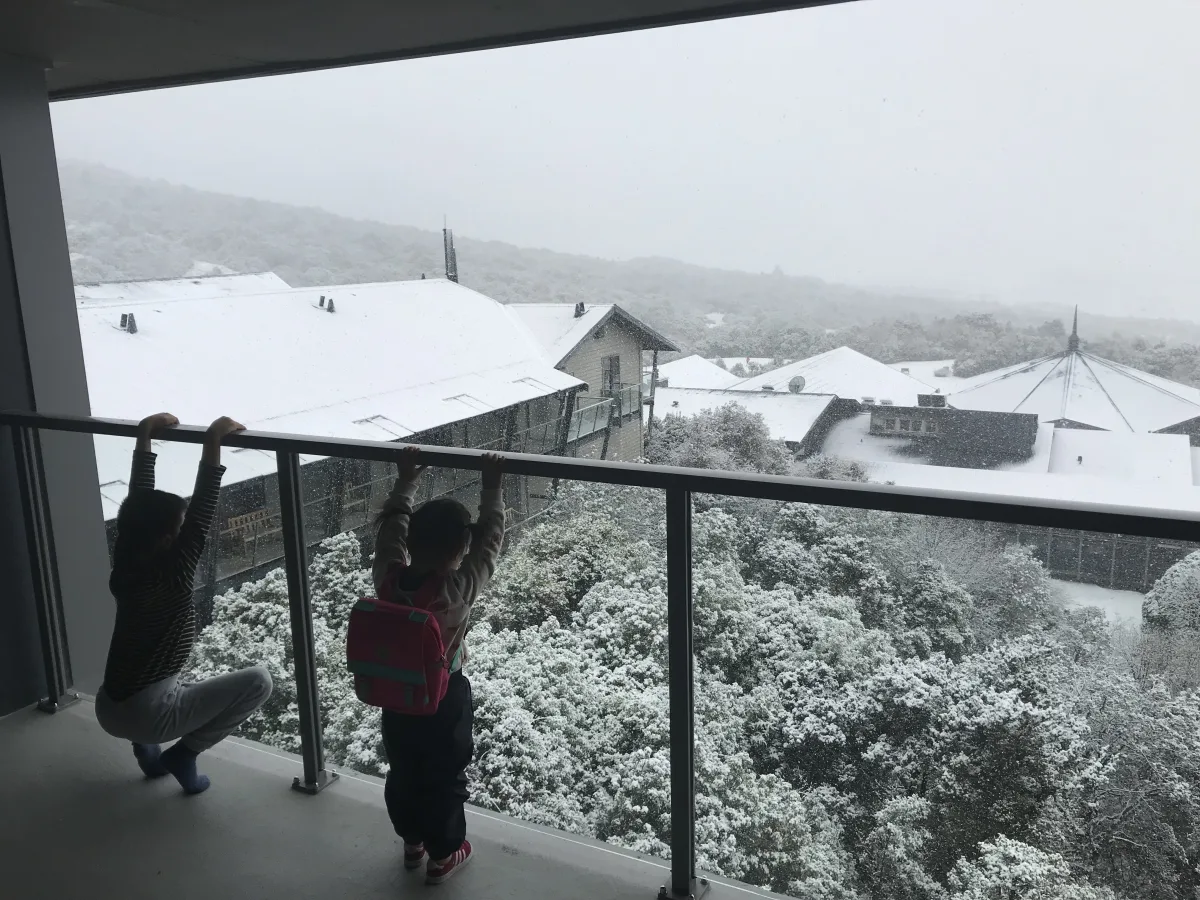
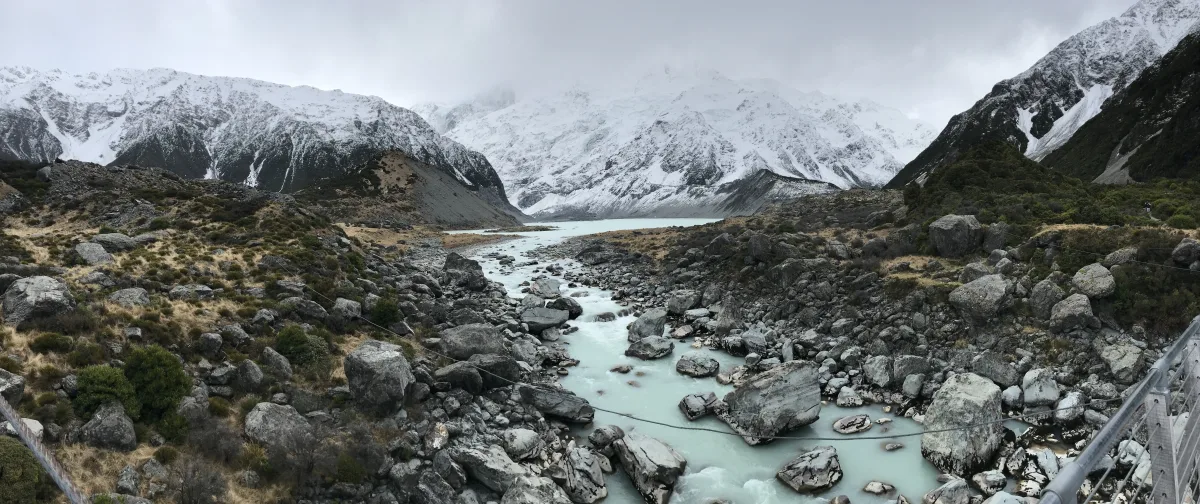
Aoraki/Mount Cook’s weather is unpredictable. Our last visit was supposed to be a quick hike to the first swing bridge, but heavy snowfall changed everything! What started as a simple walk turned into a snowstorm adventure, requiring chains for the car on the way out.
2. Wear the Right Gear
- Summer: Lightweight layers, sunscreen, hat.
- Winter: Insulating layers, waterproof outerwear, gloves.
- Shoes: Even though the trail is well-formed, sturdy shoes or hiking boots are best.
3. Pack Smart
- Water & snacks (no refill stations on the trail!)
- Sunglasses & sunscreen (even in winter, the sun reflects off the snow)
- Light backpack for essentials
- Camera (you’ll want to capture the glaciers and dramatic landscapes)
Walking the Trail: A Step-by-Step Guide
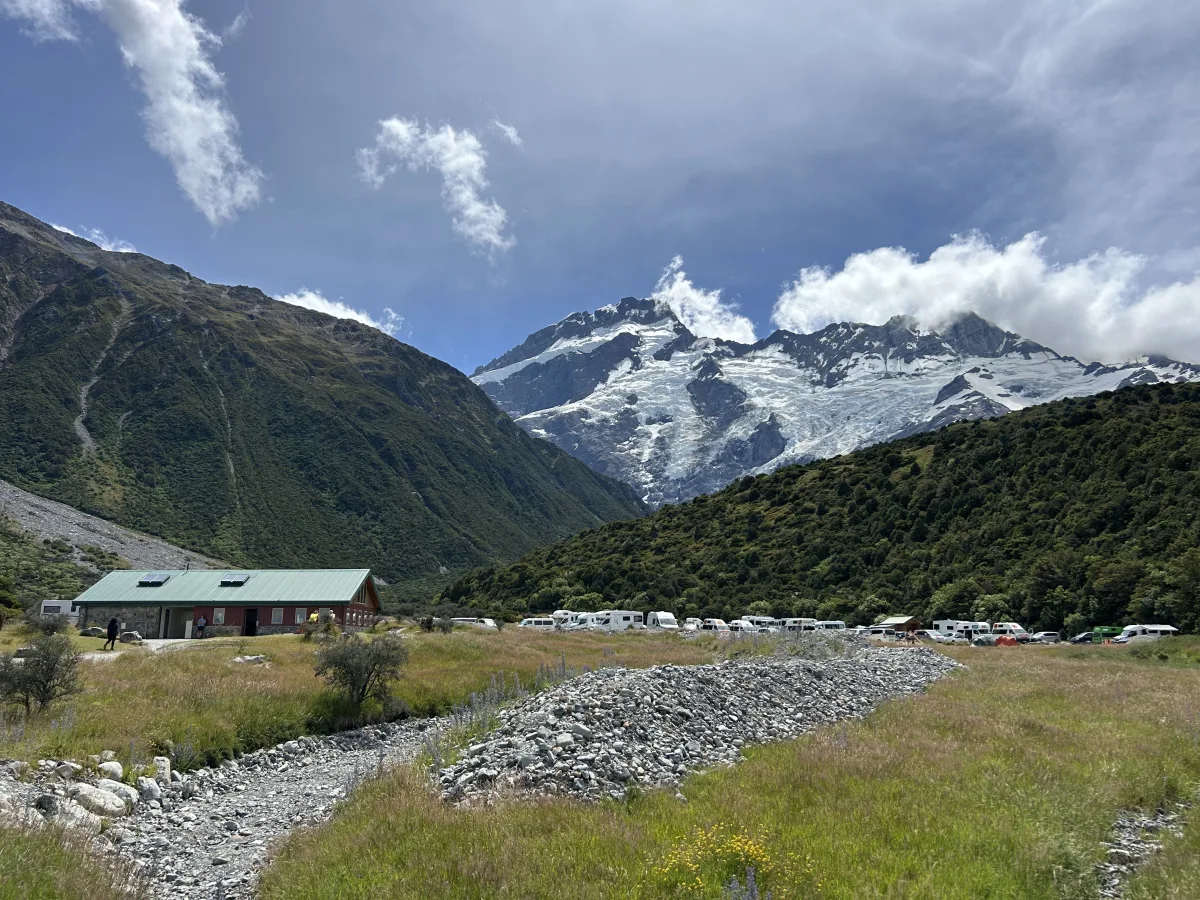
1. Start at White Horse Hill Campground
The trail begins here with parking, toilets, and a picnic area. This is where we took our first family photo, with one kid strapped to my back and the other in my arms!
2. First Swing Bridge – Mueller Glacier Views
Crossing the first suspension bridge offers spectacular views of Mueller Glacier. Our youngest fell asleep in the carrier here, completely unfazed by the scenery!
3. Second Swing Bridge – Hooker River Gorge
This bridge is longer and higher, giving a great vantage point of the valley. Our 6-year-old handled it like a pro this time, a big change from when we carried them across years ago.
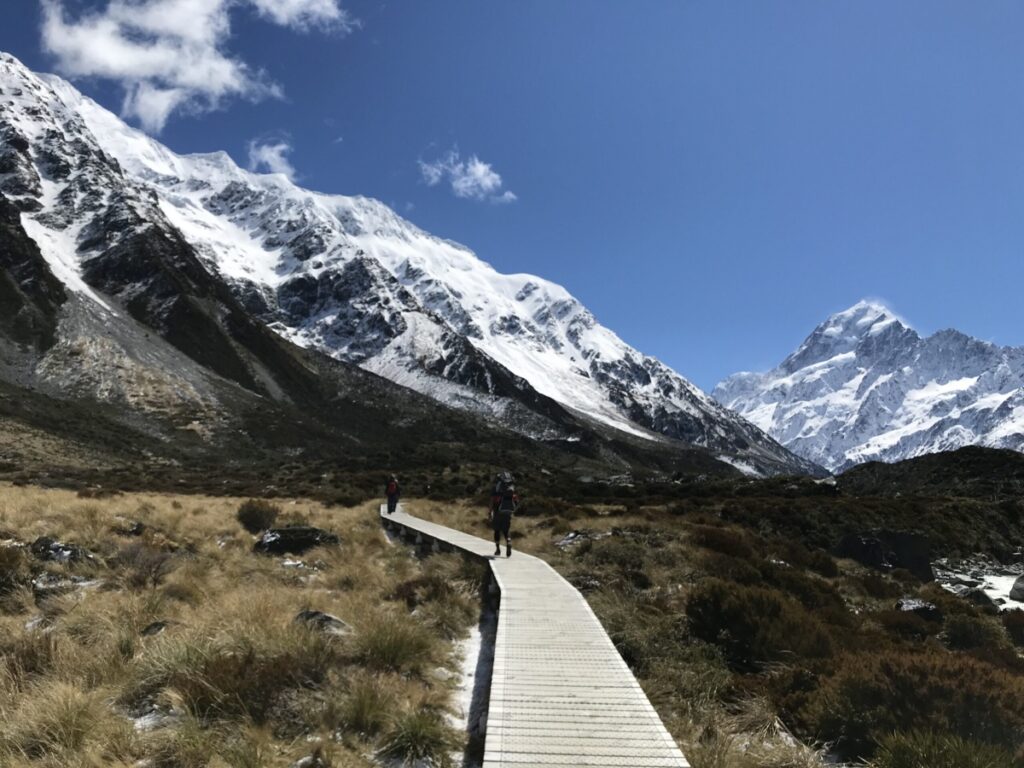
4. Tussock Fields & Boardwalk Section
One of the most photogenic spots, especially in autumn when the golden tussock grass contrasts with the blue sky. Last time, I got so focused on capturing a shot that I slipped off the boardwalk—luckily, it was a soft landing!
5. Final Swing Bridge & Hooker Lake Arrival
The final stretch offers the best views of Aoraki/Mount Cook. On our last visit, we even saw icebergs floating in the lake!
6. Back to the Car Park
This part feels faster, but having snacks ready for tired kids is a lifesaver! We made it back just in time before the weather took a turn.
Best Time to Visit
- Summer (Dec–Feb): Warm, long daylight hours, busiest season.
- Autumn (Mar–May): Fewer crowds, stunning fall colors.
- Winter (Jun–Aug): Snow-covered landscapes, can be slippery.
- Spring (Sep–Nov): Melting snow means stronger waterfalls, but unpredictable weather.
Pro Tip: If you visit in winter, be prepared for sudden snowstorms! On our last trip, what started as a casual hike ended with us rushing back to the car before we got completely snowed in.
Practical Tips for Families
- Take breaks – Kids might need snack stops at every swing bridge.
- Watch for icy spots – Even in spring, some sections can be slippery.
- Have a backup plan – Weather can change fast; be flexible.
- Carry kids if needed – We’ve had to carry a tired 3-year-old part of the way, but they loved the adventure.
- For the latest track conditions and weather updates, check the Department of Conservation’s official Hooker Valley Track page before your trip.
Final Thoughts: Is the Hooker Valley Track Worth It?
Absolutely! Whether it’s your first or third time, Hooker Valley Track never disappoints. For families, it’s the perfect mix of adventure and accessibility, with breathtaking views at every turn. From our first visit five years ago with babies in tow to now seeing our kids tackle it on their own, this hike holds special memories. If you’re visiting the South Island, don’t miss it!
📍 This Track is Day 3 of Our 7-Day Route
The Hooker Valley Track sits in the middle of our recommended South Island family loop — between Lake Tekapo and Omarama. See the full 7-day itinerary with costs, accommodation picks, and everything else in between.
→ New Zealand Family Travel: The Complete Budget Guide
1 thought on “Hooker Valley Track: The Ultimate Family Hiking Guide (10 KM Scenic Walk)”